

Every year, throughout the year, I tell myself I’m going to prepare for the holiday season little by little. Making things here and there to stash away so I won’t be left making quick projects or pulling all-nighters. I don’t. I ALWAYS get caught doing all-nighters around this time of year. Throughout the year it feels like there’s so many other fun things I can be making, like dresses… for me, tops… for me, or just about anything for me.
When that selfless time of year comes around, all I have are things that I’ve made for me or my children and husband. Luckily, I have a few go-to patterns that I pull out every time I’m caught almost empty handed by mid-November.
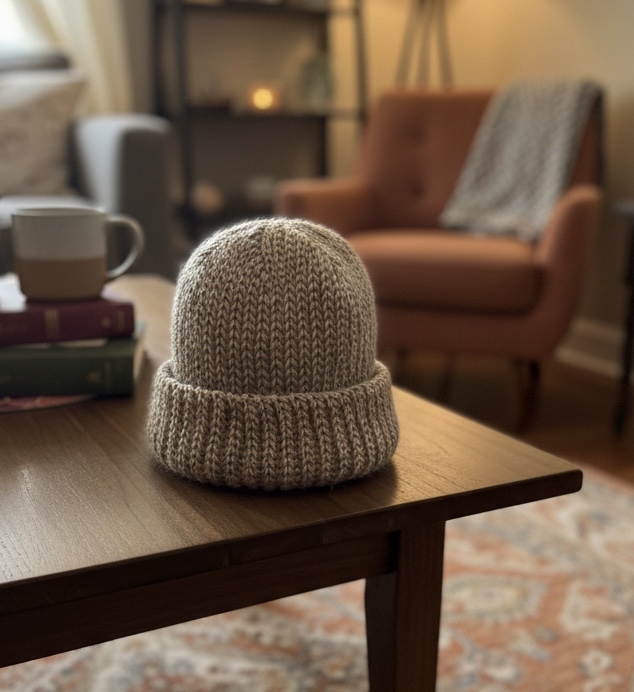
I’m here to share one of my favorite patterns with you all! This hat is customizable to size and gender. I love making this hat because it works up in about 4 hours and you can get a few done in a weekend. You can experiment with colors and yarn textures to make this hat your own!


A Simple Ribbed Hat
MATERIALS:
- Favorite Cozy Yarn
- Corresponding Hook (usually on the yarn packaging), or your favorite hook
- Measuring Tape
- Darning Needle
- Scissors
ABBREVIATIONS:
Ch – Chain
SC – Single Crochet
SL St – Slip Stitch
HDC – Half Double Crochet
BLO – Back Loop Only
This hat is worked flat and made by crocheting through the back loop only of each row.
Row 1: make a chain that corresponds with the height you would like your hat to be (hat measurement guide can be found here).
Row 2: hdc through the blo until you have 6 stitches left, sc 3, sl st 3, ch 1, turn
Row 3: Sl st 3, Sc 3, hdc to end, ch 1, turn
Row 4 & Forward: Repeat rows 2 & 3 until your hat measures the desired circumference.
Closing the Seam:
Leaving about a 10-inch tail, cut your yarn and pull the tail through the last stitch to secure.
Using your favorite sewing method, fold your hat, right sides facing (the right side is whichever you think looks better), and sew the edges together.
Using that same tail, thread your darning needle and weave the end through the top of the hat to close the crown.
The PDF version of this pattern or other variants can be found in the links below
Feel free to comment below if you followed this pattern or want to share a few of your own quick crochet work ups.





Leave a Reply